

How To Set Up Spypoint Cell Link
Nosotros recommend activating and testing your camera at home, before installing it in the field and testing it again. Nosotros understand that you want to get your camera up and running as quickly as possible, but it'southward important to follow best practices to have it work optimally.
Before getting started – Batteries
For the LINK-S and LINK-S-Night, make sure you accept charged the internal bombardment for 24-48 hours using the supplied power cord. We recommend doing and so by connecting it to a estimator, simply a uniform wall plug could work as well. The solar console should be covered, or the photographic camera should exist face downwards while charging.
For the LINK-DARK, make sure you take viii new AA non-rechargeable lithium or alkaline batteries from a premium brand. If you are using a SPYPOINT external bombardment pack, then brand certain you have charged it for at least 12 hours.
Before getting started – SD Card
Earlier powering the camera ON, you lot will require a long-formatted SD card (class 10, 2 to 32 GB, SDHC), preferably new. Here are the article and video for more data on SD and MicroSD cards.
Before getting started – Download the app
Download the SPYPOINT mobile application onto your smartphone for gratuitous from the Play Store (Android) or the App Store (Apple).
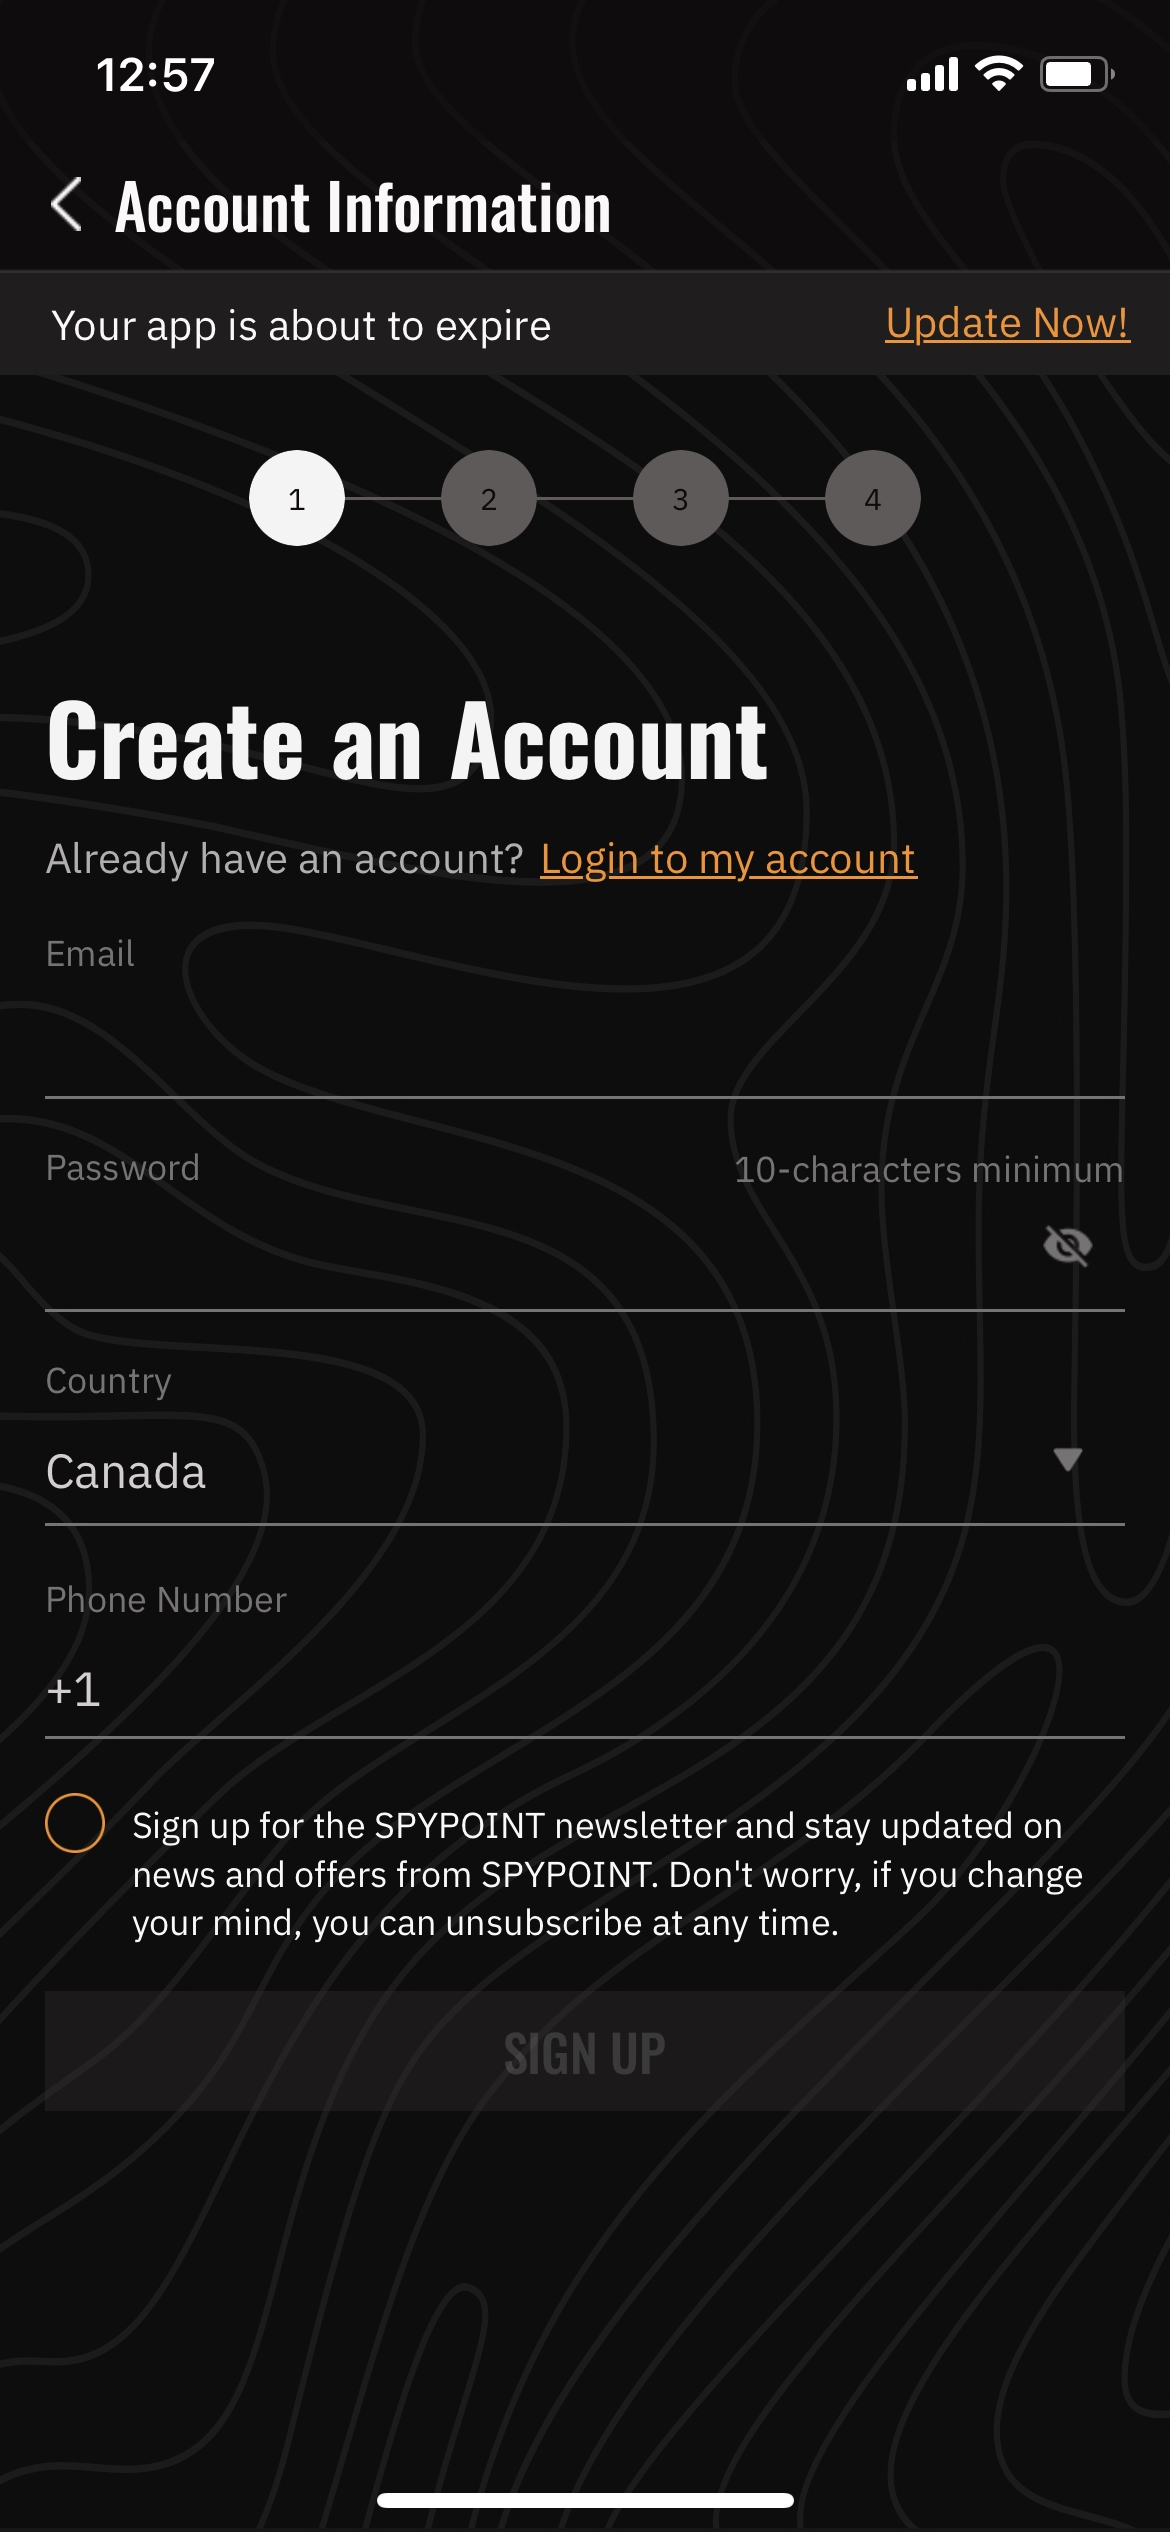
Already have an account?
| Not logged in to your SPYPOINT account | Already logged in to your SPYPOINT business relationship |
|
|
Don't have an account?
one) Open the SPYPOINT app,
2) Select Activate a Device,
three) Create an account to be able to receive photos to your mobile device,
4) And continue to step 1 of the activation process.

Activation Procedure
Step i- Select a device model
You will demand to select your SPYPOINT device model from the dropdown list provided.

Pace ii- Device Identification.
Option one : You tin can activate your device by scanning the information matrix with your phone'southward photographic camera. You lot should be able to find the data matrix sticker under the battery compartment of the device. Simply remove the bombardment pack or tray and press the " Scan" button in the app. Hold the camera in front end of the activation lawmaking sticker for the app to prompt you to the side by side step.
Pick two : Yous can manually enter device's activation code to actuate your device. Type in the 11-graphic symbol alphanumeric lawmaking on the activation sticker and press "Adjacent".


Pick 3: Scan the SIM barcode. With the SD card inserted, power the photographic camera ON using the switch to the right of the viewing screen. On the chief menu, select Settings > General > Nigh the device > SIM barcode. This will display the SIM barcode on the viewing screen of the camera. And then press the " Scan" push in the app. Hold your telephone's camera in front end of your SPYPOINT camera'southward screen for the app to read the barcode and prompt yous to the adjacent step.

Option 4: Manually enter the SIM number. Y'all should exist able to see the SIM number just below the barcode on the camera screen. Enter the SIM number manually on the SPYPOINT App and press "Next."
Step iv – Activation Confirmation
If, for some reason, your activation was unsuccessful, then you will be prompted to complete the activation process again.

If your activation was successful, yous will encounter a screen congratulating you on activating your device successfully.

Stride 5 – Power your photographic camera ON
If you activated your camera using the sticker located under the bombardment pack or tray, y'all must now power your photographic camera ON.
Step 6 – Test your camera
Your activation procedure isn't complete until yous've completed a successful test at dwelling house. A successful test means triggering a photo and receiving it within your app. Once completed, we recommend installing your device in the field and testing over again.

You will need to change the camera settings as followed to exam if your camera is sending photos to your app:
-
Verify that yous have strong signal. Here are the commodity and video for more information on optimizing betoken.
-
From the main bill of fare on the photographic camera screen, select Setting > Photo > Filibuster . Alter the delay to "instant" and press "OK" and then printing "BACK" button on the camera.
-
Over again, from the main bill of fare on the camera screen, select Settings > Wireless > Frequency . Change the frequency to "each detection" and then press the "OK" and so "BACK" buttons on the photographic camera.
-
Become back to the primary menu and select " Start Camera " and select " Photo " to set the camera in photo style (you lot should complete your beginning test in photo fashion). This volition start a 30-second countdown during which the crimson indicator low-cal will glimmer. The busy light on the back of the camera will also lite upwardly.
-
Once the countdown has ended, and the busy lite has turned OFF, your camera is ready to take pictures.
-
Move your hand in front of the camera to trigger a photo. Yous should then see the "Busy" LED light-up again, which means the camera is taking and transmitting photos. You will demand to wait until the decorated LED turns OFF. Open up your SPYPOINT app and verify that the app did update with the latest communication.
-
Refresh the "Photos" tab until your photos appear. Once the photos announced, yous know that your photographic camera is working properly, and you are ready to identify it in the field. Before you put the camera in the field make sure the camera has a potent stable signal where it is placed to ensure proper manual and updates.
If you run into an issue
If your exam at home is successful, simply your test in the field is unsuccessful please follow steps in the following article and video .
If y'all cannot complete a successful exam at home, please read the How to verify if my cellular device is communicating article. It volition direct yous to the appropriate troubleshooting article based on your situation.
Note on photographic camera settings
We recommend waiting until both your at-home and in-the-field tests are both successfully complete before configuring your camera to the desired settings. Once your camera has been successfully tested, you may modify these settings from the SPYPOINT app as well. For more than information on camera settings, delight watch the Bones Settings , Cellular Setup Settings and Advanced Settings videos.
Source: https://www.spypoint.com/en/support/cameras-and-devices/articles/96/how-to-properly-activate-your-spypoint-cellular-camera-with-a-screen.html
0 Response to "How To Set Up Spypoint Cell Link"
Post a Comment